To disassemble an office chair, first, locate all the screws and bolts. Then, use a screwdriver or socket wrench to remove them.
Disassembling an office chair can be necessary for cleaning, moving, or repairing the chair. Most chairs have screws and bolts that hold the different components in place. To disassemble the chair, it is important to locate all the necessary screws and bolts and have the appropriate tools available.
Once all the necessary parts are removed, the chair can be disassembled and the different components can be cleaned, repaired, or moved to a new location. It is important to keep track of all the parts and to store them in a safe location until they are needed again.
Credit: www.autonomous.ai
Tools And Supplies Needed
Disassembling an office chair might seem intimidating at first, but it’s a straightforward process that anyone can do with the right tools and supplies. Before you start, gather everything you need to ensure a smooth experience.
Screwdriver
A screwdriver is an essential tool for any disassembling process. It helps remove screws effectively and efficiently. Make sure to select a screwdriver that fits the screws on your chair to prevent damage to the head of the screw.
Pliers
Pliers come in handy when dealing with nuts and bolts on your office chair. Use them to grip and turn nuts and bolts that are hard to reach with a screwdriver. They also offer more leverage when handling stubborn screws.
Allen Wrenches
Allen wrenches, also known as hex keys, are commonly used in office chairs. Look for a set of hex keys with different sizes to ensure you have the correct fit for any bolt size you encounter.
Damp Cloth
A damp cloth helps keep your workspace clean by wiping away dust, grease, or any debris. It is also essential to avoid leaving any scratches or dents on your chair, which might lower its value.
Plastic Bags
When disassembling your office chair, it is important to keep all the small parts organized, such as bolts, screws, and nuts. Plastic bags come in handy to store all parts and keep them from getting lost.
Gloves
Wearing gloves protects your hands while disassembling your chair. Gloves can prevent injury from sharp edges, splinters or protect your hands from tougher materials that may be harder to disassemble.
Safety Glasses
Safety glasses may seem unnecessary, but they can prevent damage to your eyes while removing screws, bolts, and nuts. Debris from threads may fly and hit your eyes, causing injury. So always match your gloves with safety glasses as a safety measure.
Disassembling an office chair depends a lot on the right tools, which makes the procedure a breeze. Collect everything you need and you won’t have to stop working halfway through to find a tool. With proper tools, supplies, and a little patience, you can efficiently take apart any office chair with ease.
Step 1: Remove The Casters
Disassembling an office chair may seem like an overwhelming task, but it can be easily accomplished with the right tools and knowledge. Before diving into the disassembly process, it is important to take proper precautions to ensure that the chair is removed safely and without causing damage.
The first step to disassembling an office chair is to remove the casters.
Explain the importance of removing the casters first before starting any disassembly process.
Taking out the casters should be the first step in disassembling an office chair since it can affect the stability of the chair. Casters are mounted on the bottom of a chair to make it easy to roll around. However, the casters prevent the chair from sitting firmly on a flat surface and can cause accidents during disassembly if not removed first.
Also, removing the casters can reveal hidden components that would be difficult to access while the chair is still upright.
Provide easy-to-follow steps on how to remove the casters without damaging the chair or floor.
Follow these simple steps to safely remove the casters of an office chair:
- Move the chair to a flat surface: Avoid accidents by placing the chair on a flat surface, such as a table or desk.
- Check if the chair has stem or threaded casters: Some chairs have stem casters, and others have threaded casters. To remove stem casters, grip the caster and pull firmly. To remove threaded casters, grip the caster and turn it counterclockwise.
- Some casters might not release: If the caster does not release easily, apply penetrating oil spray onto the center stem of the caster and let it settle down for an hour. Tap on the outside rim of the caster with a mallet until it releases.
- Inspect the chair leg ferrules: Ferrules often cover a chair’s legs and secure the casters in place. Remove them carefully by inserting a screwdriver underneath the edge and gently lifting. In some chairs, the ferrules might also include screws that need to be removed.
- Protect the floor while removing casters: Place a piece of cardboard or cloth on the floor to avoid scratches or damage while removing casters.
By taking the extra step of removing the casters carefully and safely, any disassembling task can be accomplished with ease. Remember, always work on a flat surface, protect the floor, and utilize proper tools to avoid damage.
Step 2: Remove The Seat Cushion
Reasons For Removing The Seat Cushion
Before you can disassemble an office chair, one of the vital steps is removing the seat cushion. The seat cushion is the area where you spend most of your time sitting, and it’s prone to wear and tear from spillage, stains, and sweat.
It could also harbor bacteria, dirt, or allergens from daily use, which could cause discomfort, itching, or even an allergic reaction. Removing the seat cushion helps you to maintain the chair’s hygiene and prolongs its lifespan, ensuring that you continue to use it safely and comfortably.
Benefits Of Removing The Seat Cushion
By removing the seat cushion, you can enjoy several benefits, including:
- Preventing accidents: With the seat cushion removed, you can work on the chair’s base, legs, or other parts without the cushion’s obstruction. This prevents the risk of tripping over or losing balance, and you can work on the job faster.
- Easier cleaning: The cushion could have accumulated dust particles, debris, or even food crumbs, which may be difficult to clean while the cushion is attached to the chair. Detaching the cushion enables you to clean it thoroughly and avoid damaging it in the process.
- Comfort and personalization: If your chair’s cushion is uncomfortable, flat, or misaligned, you can remove it and replace it with a better option that suits your preferences. This could be a foam or gel cushion or even a memory foam cushion that conforms to your body shape for added comfort.
Steps To Remove The Seat Cushion
To remove the seat cushion from your office chair, follow these simple steps:
- Flip the chair upside down and place it on a stable surface, such as a table or workbench.
- Look for the screws that hold the seat cushion in place. They are usually at the bottom of the chair, beneath the cushion.
- Use the screwdriver to unscrew each screw from its hole and place them in a secure location.
- Firmly grip the cushion from the edges and lift it off the chair’s base. You may need to wiggle it back and forth gently to loosen any sticking points.
- Inspect the cushion for any signs of dirt, stains, or damage. Clean it with a solution of mild detergent and water or wipe it with a damp cloth. Avoid saturating the cushion with too much water or leaving it to air dry for long.
- Place the cushion in a safe location while you work on the other parts of the chair.
Tips For Cleaning The Cushion
Cleaning the seat cushion while it’s removed can be an ideal time to maintain its hygiene. Here are some tips to consider:
- Check the manufacturer’s manual for any cleaning guidelines or recommendations for your cushion type.
- Use mild detergent and water to clean the cushion gently, and avoid using harsh chemicals or bleach.
- Rinse the cushion thoroughly to remove all soap residue and leave it to air drape in a well-ventilated area.
- Avoid exposure to direct sunlight or heat sources as this could damage the cushion’s fabric or foam.
- Refrain from scrubbing the cushion too hard or using abrasive sponges as this could cause pilling or damage to the material.
- Once the cushion is dry, you can reattach it to the chair using the screws you had removed earlier.
Removing an office chair’s seat cushion can be a simple DIY task that anyone can do with the right tools and mindset. By understanding the reasons for removing the cushion and the benefits that come with it, you can keep your chair clean, comfortable, and functional for years to come.
Remember to follow the steps and tips outlined above to avoid any injury or damage and enjoy a perfect working environment.
Step 3: Remove The Armrests And Backrest
Reasons For Removing The Armrests And Backrest
Removing the armrests and backrests from an office chair is essential, especially when you want to refurbish, clean, or repair your chair. Below are some reasons why you should remove these parts.
Facilitates thorough cleaning: Dirt, dust, and crumbs tend to build up in office chairs’ seams over time. Removing the armrests and backrests allows you to clean every nook and cranny of the chair, ensuring it stays hygienic and healthy.
Easier repair: If your armrests or backrest break or become damaged, you can quickly replace or repair them if you have removed them from the chair. Additionally, removing them makes it easy to identify other issues that may require repair.
Space-saving: Removing these components may offer more space to move your chair around your working station, making it more comfortable for you to work around your office or home workspace.
Removing The Armrests And Backrest: A Brief Guide
Removing the armrests and backrests is not something that requires special skills; however, it’s critical that you do it correctly to avoid causing further damage to your chair. Here is a brief guide to help you remove these parts safely.
- Start by locating the screws that attach the armrests and backrests to the chair. Check the chair’s underside or within the backrest for screws.
- Ensure you have the appropriate tools to unscrew the screws. You may need basic tools like screwdrivers or pliers.
- Gently remove the screws one by one while holding the armrest or backrest in place with your other hand to avoid cracking or snapping.
- Finally, carefully lift the armrest or backrest from the chair, taking care not to damage the chair or any other component.
Common Tools You’Ll Need To Disassemble An Office Chair
Before attempting to disassemble your office chair, it’s essential to ensure that you have the necessary tools. Some of the most common tools include:
- Screwdriver set (Phillips, flat head)
- Allen wrench set
- Pliers
- Electrical tape
- Needle-nose pliers
- Lubricant (wd-40)
With these tools, you’ll be able to remove the screws, bolts, and other tricky parts of your chair with ease, and safety and prevent any harm to you or the chair.
Step 4: Disassemble The Chair Mechanism
Discuss The Role Of The Chair Mechanism In An Office Chair:
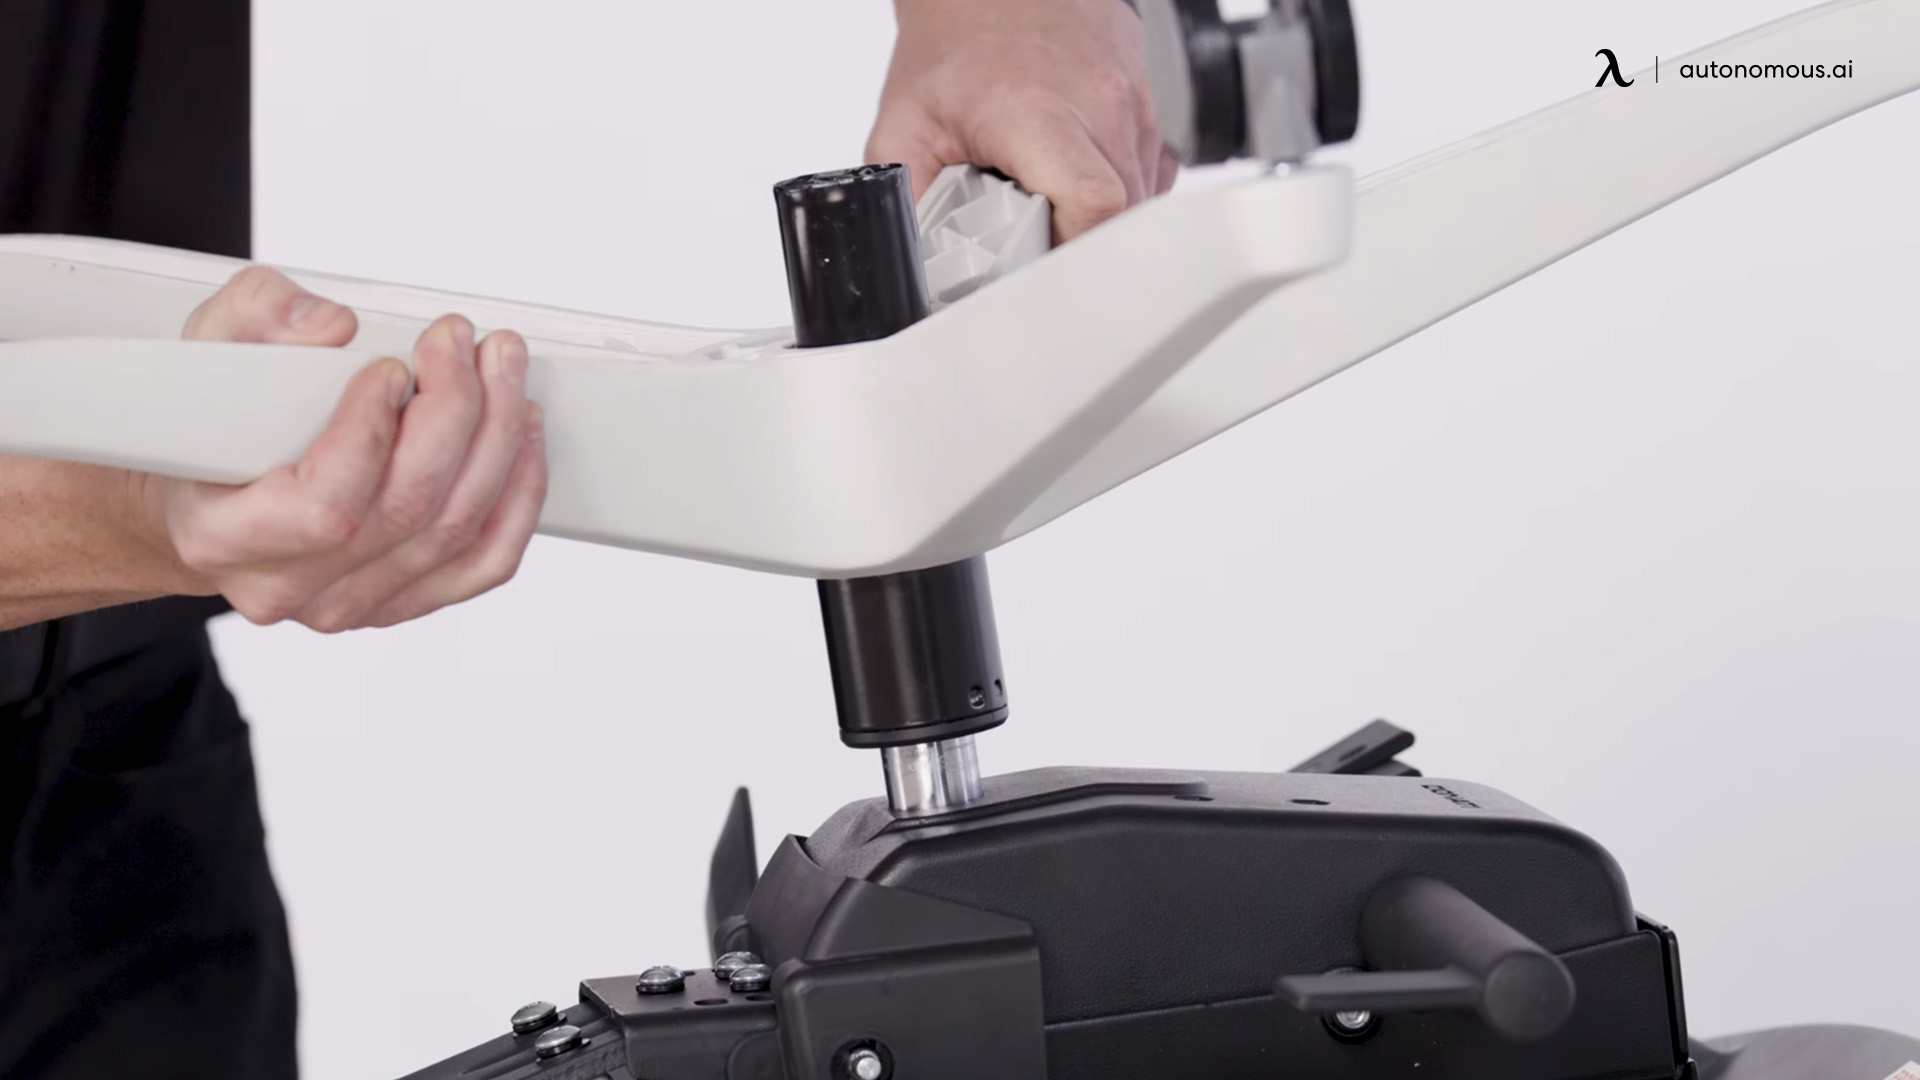
The chair mechanism is the most crucial component of an office chair. It is responsible for allowing the chair to move and adjust to the user’s posture while they are working. The most common mechanics in office chairs include tilt, recline, gas lift, and swivel.
The chair mechanism connects to the base, seat, and backrest, and without it, the chair would not function properly.
Why And How To Disassemble The Chair Mechanism?
Disassembling an office chair mechanism can be crucial when the chair is not working correctly or needs repair. By learning how to take apart each component of the mechanism, you can identify the part that needs repair or replacement. The disassembling process also helps clean the chair, removing any lint or debris that may cause the chair to malfunction.
This process is also helpful if you need to transport the chair in parts.
If you’re feeling like a DIY enthusiast and want to disassemble your chair, here are the steps to follow:
Step-By-Step Guide On How To Disassemble The Chair Mechanism:
- Turn the chair on its side
- Locate the mechanism housing
- Remove the housing cover by unscrewing the bolts that attach it to the chair
- Disconnect the lift cylinder by removing the snap ring with snap-ring pliers and then pulling it off the mechanism housing
- Disconnect the tilt mechanism by removing the spring clip with a screwdriver and pulling it out of the housing
- Remove the armrests by unscrewing the bolts that attach them to the seat
- Unscrew the seat from the mechanism housing
- Remove the cover of the mechanism and set it aside.
- Locate the faulty component and either repair it or replace it
- Reassemble the chair in reverse order, testing each component as you go.
The Potential Benefits Of Disassembling The Chair Mechanism:
Disassembling your office chair mechanism can save you money on professional repair fees as you can identify the faulty component, which needs fixing. It also helps extend the life of your chair, as the cleaning process during disassembly removes any debris that may be causing damage to the mechanism.
If you are considering transporting your chair, removing it from the machine can also make it much easier to transport.
Frequently Asked Questions
-
What Tools Do I Need To Disassemble An Office Chair?
You will need a screwdriver, pliers, and an Allen wrench to remove the screws and bolts.
-
How Can I Remove The Seat From An Office Chair?
Flip the chair upside down and locate the screws holding the seat to the base. Unscrew them to remove the seat.
-
What Is The Best Way To Clean Office Chair Parts?
Mix warm water and mild soap to clean the parts. Use a soft cloth to wipe the parts down and let them air dry before reassembling.
Conclusion
Overall, disassembling an office chair may seem daunting, but with the right tools and careful approach, it can be a simple task. By following the step-by-step instructions outlined in this guide, you can save money on repairs and avoid the need to purchase a new chair altogether.
Remember to take your time, keep track of all the pieces, and consult the manual or manufacturer if necessary. Additionally, don’t be afraid to ask for help if you need it. Once disassembled, you can clean, repair, or replace any parts necessary, and then reassemble the chair for continued use.
By mastering this skill, you can not only extend the life of your chair but also save money and time in the process. So don’t hesitate to give it a try!
